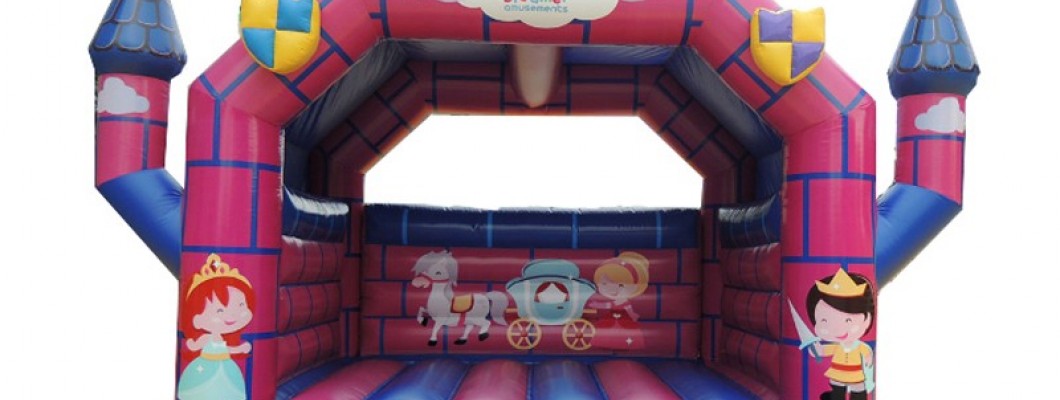
While bouncy castles are designed to withstand plenty of fun, accidents can happen, leading to damage over time. Repairing a bouncy castle promptly is crucial to ensure safety and prolong its lifespan. Here’s a step-by-step guide on how to effectively repair a damaged bouncy castle.
1. Assess the Damage
Start by inspecting the bouncy castle thoroughly. Look for any punctures, tears, or leaks in the fabric. Pay attention to seams, zippers, and attachment points, as these areas are more prone to wear and tear. Understanding the extent of the damage will help you determine the necessary repairs.
2. Gather Repair Materials
You’ll need a few essential materials to repair a bouncy castle:
- Bouncy castle repair kit (usually includes patches and adhesive)
- Scissors or a utility knife
- Cleaning cloth or sponge
- Strong adhesive (if not included in the repair kit)
- Measuring tape
3. Clean the Affected Area
Before applying any patches, clean the area around the damage thoroughly. Use a damp cloth or sponge to remove dirt, debris, and any moisture. Allow the area to dry completely, as applying patches to a wet surface can prevent proper adhesion.
4. Cut the Patch
If your repair kit includes patches, choose one that is larger than the damaged area. Cut the patch into a shape that will cover the damage adequately, ensuring it extends at least an inch beyond the tear or hole on all sides. This extra material helps create a strong bond with the bouncy castle fabric.
5. Apply the Adhesive
Following the instructions on your repair kit, apply the adhesive to the patch and the area surrounding the damage. Make sure to cover the entire patch surface, as well as the area where it will adhere to the bouncy castle. If using a separate adhesive, ensure it is suitable for the material of the bouncy castle.
6. Place the Patch
Carefully position the patch over the damaged area, pressing down firmly to eliminate any air bubbles. Ensure the patch is evenly applied and covers the damage completely. Hold it in place for a few minutes to allow the adhesive to bond properly, or follow the drying times recommended in the kit instructions.
7. Allow for Curing
After applying the patch, allow the adhesive to cure according to the manufacturer’s instructions. This may take several hours or even a full day. Avoid using the bouncy castle until the adhesive is completely set to ensure a strong repair.
8. Test the Repair
Once the adhesive has cured, inflate the bouncy castle and carefully inspect the repaired area for any signs of air leakage. If you notice any issues, repeat the patching process as needed. Ensure that the entire structure is functioning properly before allowing children to use it again.
9. Regular Maintenance
To prolong the life of your bouncy castle and reduce the likelihood of future damage, perform regular maintenance. Clean it after each use, check for wear and tear, and store it properly when not in use. Addressing minor issues promptly can prevent larger repairs down the line.
10. Conclusion
Repairing a damaged bouncy castle doesn’t have to be a daunting task. With the right materials and a bit of patience, you can ensure that your inflatable remains safe and enjoyable for all. Remember, regular maintenance and prompt repairs are key to extending the lifespan of your bouncy castle!
